Using the Show Desktop shortcut I described previously, you now know how to get to your desktop with one easy click, right? Also, when you click open from most programs, the Open File window appears and always shows a link to My Desktop, right?
So how do you put links or “Shortcuts” to your most frequently used folders and documents on your desktop?
You DO NOT want to move the actual document or folder there. That is a very messy way to disorganize your computer; we always want to move towards organization so that your life is easier, not more difficult.
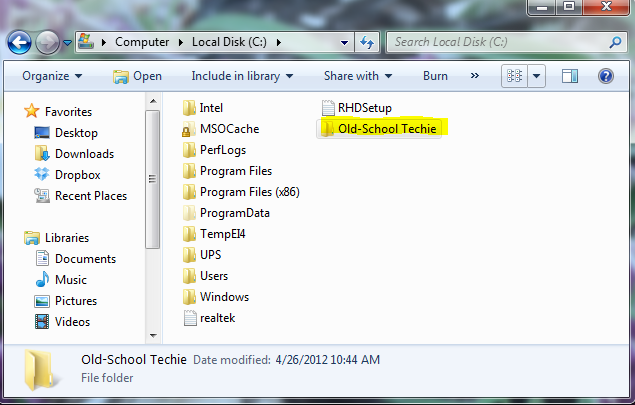
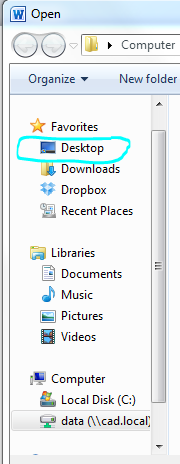
Let’s start with a folder. Use Windows Explorer to go to your favorite folder. For me, that’s my Old-School Techie folder on my c:\drive.
Right click the folder. The menu that appears will give you the option to Create shortcut.


Click that and a new file appears called Old-School Techie shortcut.
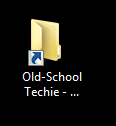
Notice the little “shortcut” arrow on top of the folder icon. This arrow means this is only a picture of the file, a shortcut, an image, NOT the real file. If you move, copy, or delete this shortcut, you are not touching the original file.
Back to our new shortcut folder. We already have the original folder in the c:\ drive. We want to move it to the desktop. Drag the shortcut (not the original) from the window to the desktop. Voila, your shortcut will be on the desktop. Double click the shortcut, and you will go right to the folder contents.
Sometimes, if you are creating or moving folders from other drives, let’s say your external drive r:\ or your network drive f:\, the shortcut will stay where it is and Windows will just move the copy to your desktop. Also, if you have limited access to your network drive, Windows may tell you that you are not allowed to create a shortcut on your network drive, and ask you if would you like to place a shortcut on your desktop instead. Answer, “Yes, I would!”
Next time, we’ll make shortcuts to our My Documents folder, and I’ll tell you why that’s a good idea. Maybe you can already guess.
