| Last | First | Address | City | ST | Zip |
| Bennet | Elizabeth | 123 Pier Street | Santa Monica | CA | 90401 |
| Bennet | Jane | 2345 Colorado Avenue | Santa Monica | CA | 90401 |
| Bingley | Charles | 900 Wilshire Boulevard | Westwood | CA | 90024 |
| Darcy | Fitzwilliam | 601 N. Rodeo Drive | Beverly Hills | CA | 90210 |
Save your spreadsheet and name it Mailing Labels.
Now open a new Word document In the Mailings tab, click Start Mail Merge and select Labels, Have your box of labels handy and find the code. Avery 5160 is the norm – that’s the one with 30-labels per sheet.
In case you do not see the faint gridlines that show you the outlines of the labels, you will need to change a setting. When you are working with labels, two new tabs will appear on the right of the Word menu: Table Design and a second Layout tab. To see your label’s outlines, go the right-hand Layout tab that appeared in Word. On the table Layout tab>Table section, select View Gridlines.

Still on the Mailings tab>Start Mail Merge section>click on Select Recipients>Use an Existing List. In the Select Data Source window, point to your Excel mailing list, and click Open.


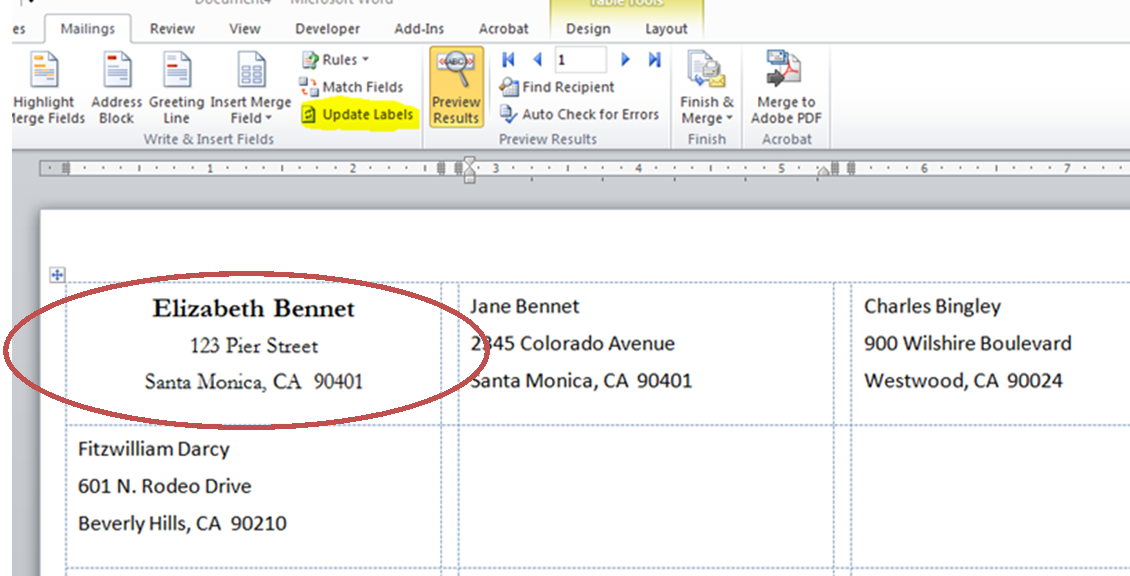
To see your friends’ names, click Mailings tab>Preview Results section>Preview Results.
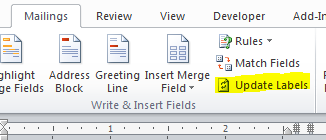
You may adjust font, size, and spacing, use the first label only, then click Update Labels and your formatting will be copied to all labels.
If you save your Word document, it will remember where your mailing list was. Open it later, and all the labels will update based on the current Excel list.

1 Comment