One of the thrills of Desktop Publishing is making your document look like a professional designed it, right? Lining up your text boxes, images, shapes is one of those design details that people notice. Well, usually they only notice when things DO NOT line up.
Blue Margin Guides
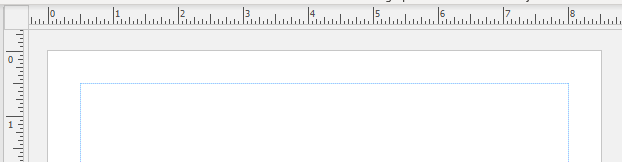
Publisher uses “guides” to line up objects. When you open a blank Publisher document, you immediately see the light blue margin guides around the edge of the page. These are your margin guides. Most smaller inkjet or laser printers do not do a great job of printing along the edges. Think of the default ½” margins as a reminder not to put objects near the edges. An object might be a photo, it might be a shape, or perhaps a Text Box holding words.
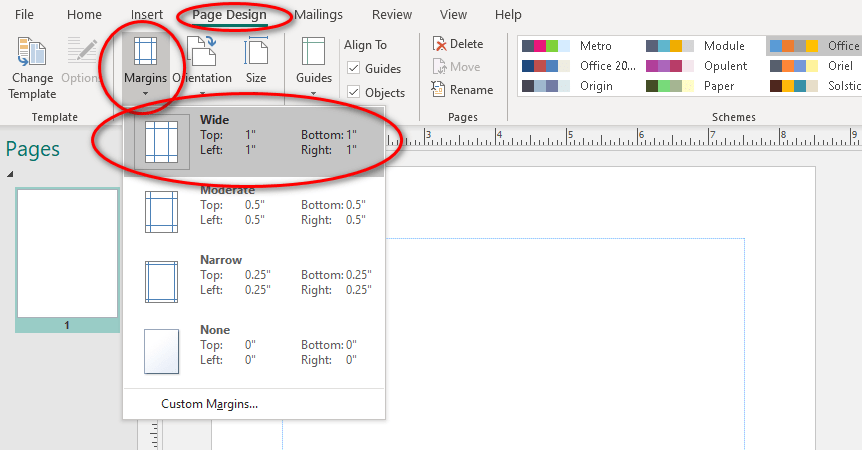
You can easily change those margins from the Page Design tab>Page Setup section>Margins. The default margins are “normal” or ½” along each edge. You may change to Wide 1” margins or Narrow ¼” margins with a click. Let’s change to Wide 1” margins today.
Green Built-In Layout Guides
Let’s say you are creating a flyer and you need more than simple margin guides to line up your images and text. On the Page Design tab>Layout section, select Guides. Let’s pick the one with a large box and several small boxes on the bottom. If you hover your mouse over it, it will show the name “Uneven Grid 3”. Click it to select it for your document.

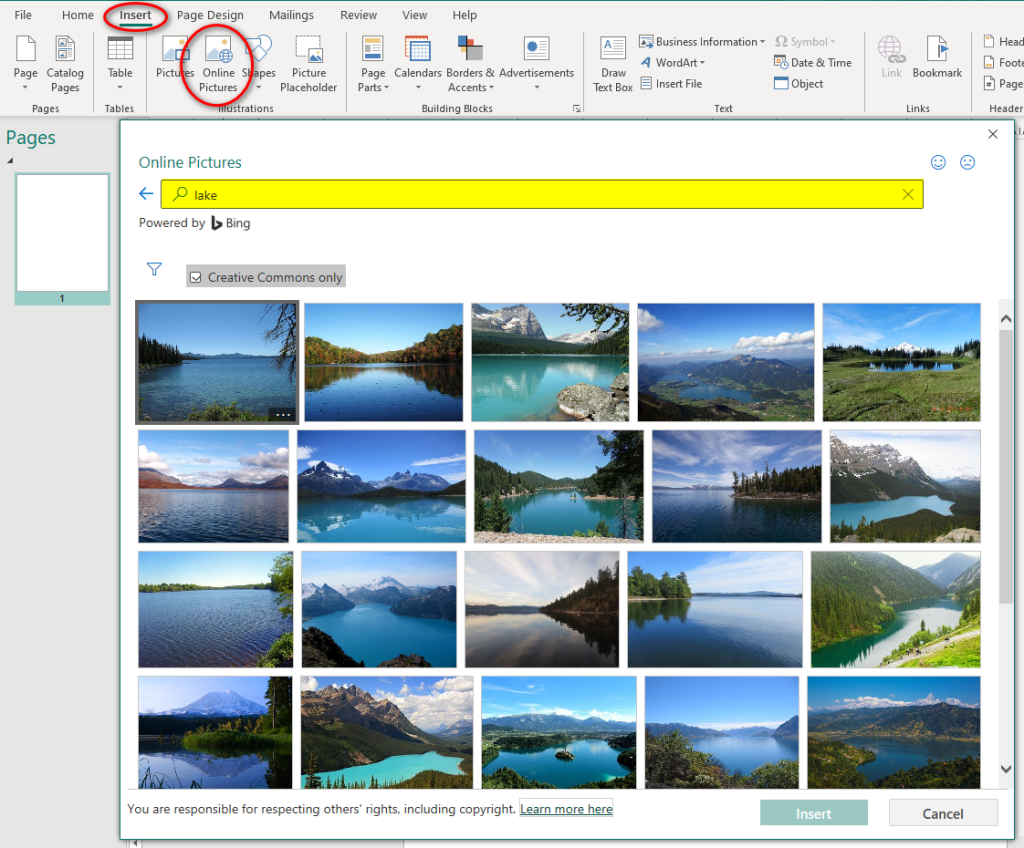
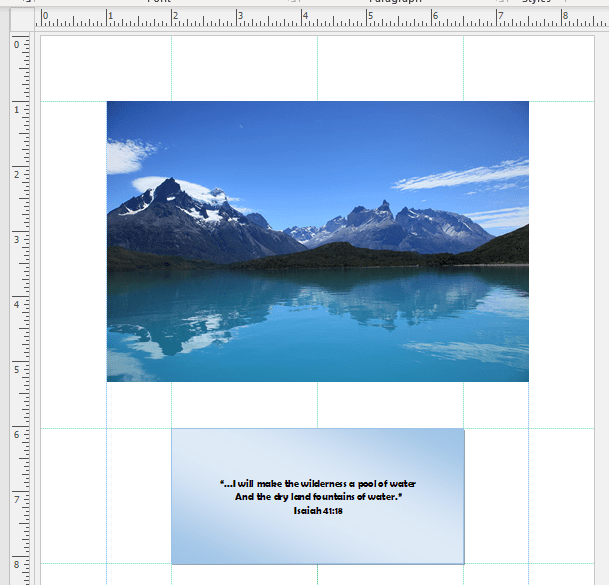
Now you see the faint blue margins and the faint green guides on your page. Let’s add an “Online Picture” to the large box. From the Insert tab>Illustrations section>click on Online Pictures. They have several categories available and you may pick from these to refine your search. I will simply type “lake” in the Search Bing bar (yellow in my screenshot below) and press Enter. Pick one that you like. Click the image, then click Insert. (You may also double-click an image to insert it.) Publisher will place the image on your page.
A word about Microsoft “ClipArt” and Copyrighted Images
If you are used to MS Word or MS PowerPoint, you will notice that Publisher is slightly different here. All Microsoft products used to come with “clipart” on their software CD that you could use in your documents. These were “stock images” that Microsoft gave you the right to use when you purchased their software. Now that the software is sold as an online download, they no longer give you “ClipArt.” Instead you have access to “Online Pictures.” I have found that Publisher gets updated last in the Microsoft world. Word and PowerPoint have moved on to Insert Pictures having a “Stock Images” choice. Publisher is still using the internet to search for images. They try to suggest images from the “Creative Commons” which means they are not copyrighted. Always be cognizant of copyright laws. (You can also go to Word or PowerPoint, click on Insert tab>Picture>Stock Images to add stock image in Word or PowerPoint, then copy / paste it into Publisher.)
Lining Up with the Guides
Hover your mouse over your image and your cursor will turn into the “move” cursor, like a compass rose with four directional arrows. Drag the image so the top left corner lines up with the left blue margin guide and the top green guide. As you move the image close to those guides, they will darken as you get close to help you align your image.
Now we will resize our image to fit into the box. ALWAYS hold down shift and drag a corner handle when you resize, so it stays in proportion. Some software does this automatically when you drag a corner handle, but some doesn’t, so make a habit of ALWAYS holding down Shift when resizing!
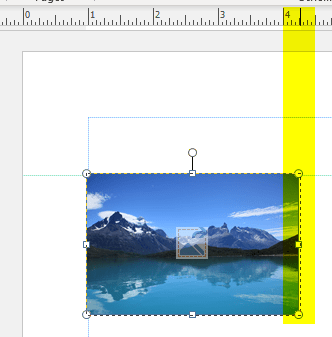
As you hold down Shift and drag a corner handle towards the right blue margin line, the line will darken as you land on it. Release your mouse. Because of the shape of the photo, we are just below our green guide. Let’s drag the entire photo up a small amount to line up with that bottom green guide. As you move up, the bottom green guide will darken as you get there. Got it? Release your mouse.
Add a Text Box Using Guides
Let’s add two text boxes right below the image. From the Insert Tab>Text section>Draw Text Box. (This is the same as Home tab>Object section>Draw Text Box.) Starting on the bottom left corner of the image, drag your Text Box to the green guide corner below and to the right. Notice the Text Box wants to fill that rectangle and the margin and guide colors darken as you get near. Release the mouse.
Type a few words about your lake in the Text box.
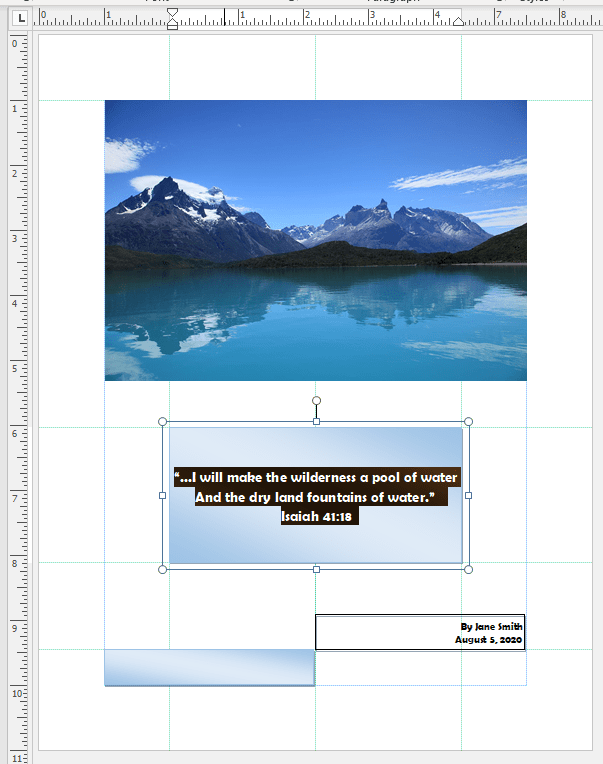
Draw another Text Box between the bottom green guides on the bottom right. Put your name and the date in that Text Box. (Tip: use Shift-Enter to only have a single space between your name and date instead of the default double-space between paragraphs.)
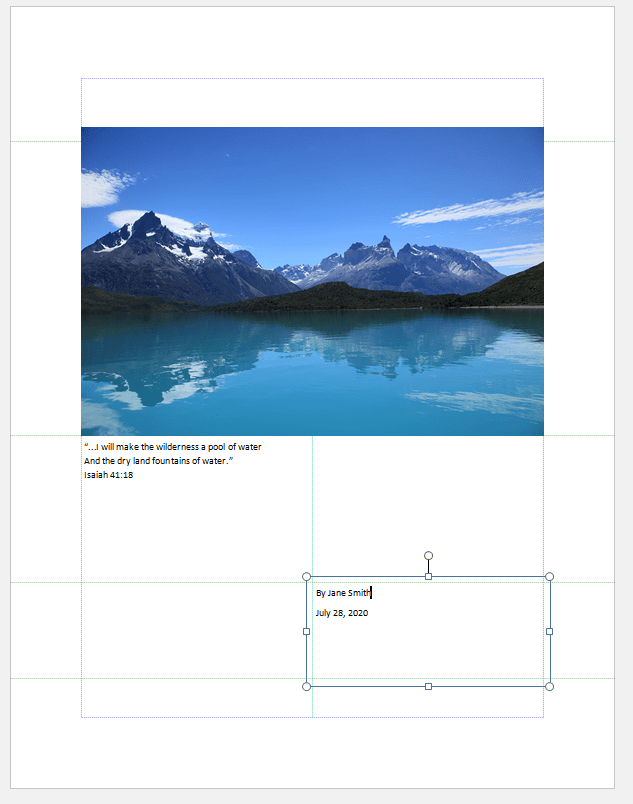
As always, format your text’s font, color, and size to better show off you image. I formatted my bottom right Text Box so the text was aligned on the bottom right.
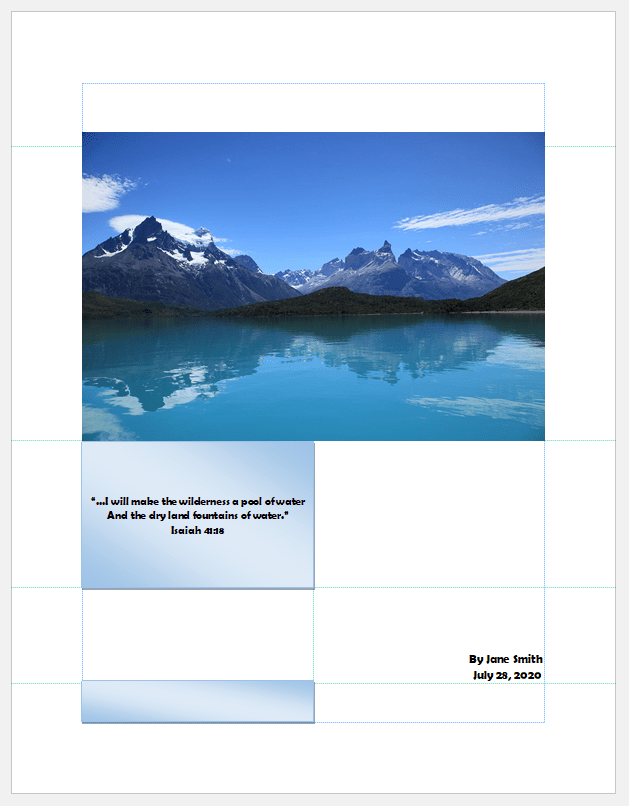
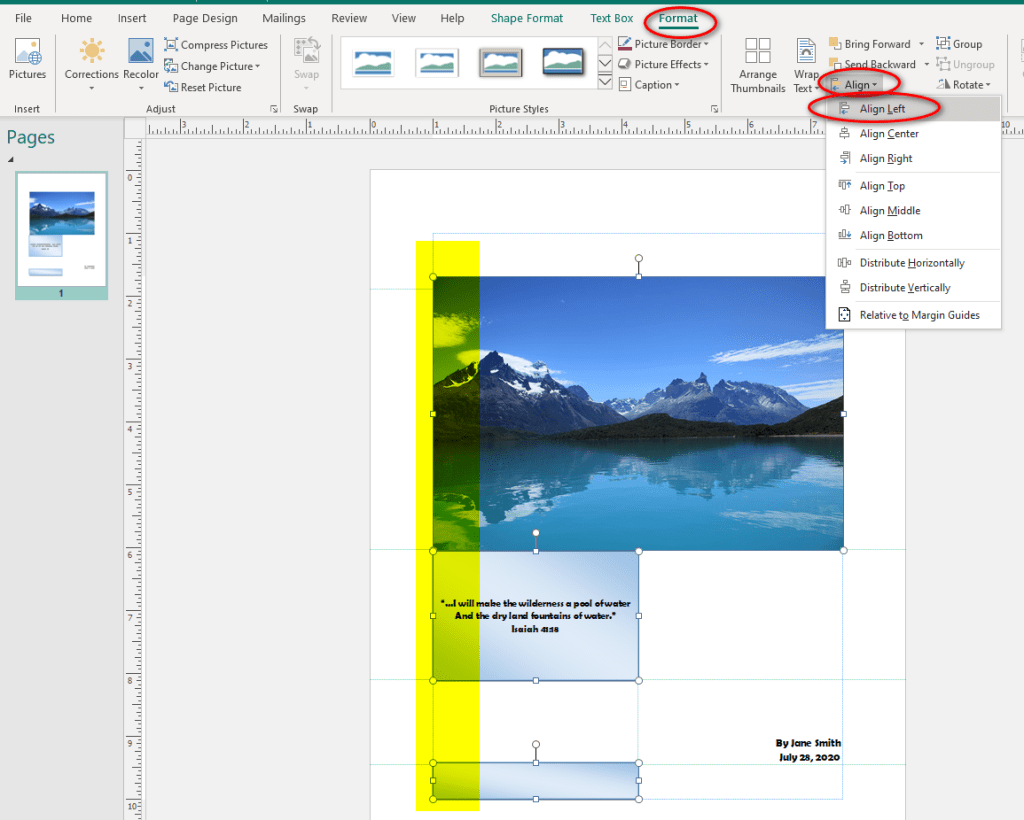
Insert a rectangle shape in the bottom left guide rectangle to practice. Format it to match your Text Box’s color. The more objects you insert and format the more you will learn.
Align Objects (Images, Text Box, Shapes)
Do you want to make sure all your left-hand objects are aligned? Hold down the Shift button and click on the lake photo, your descriptive Text Box and your bottom rectangle – all the objects on the left side. All three objects should have handles, right? The “magic” Format tab will appear when your objects are selected. In Format tab>Arrange section>click the drop-down arrow next to Align. Tell all the objects to align to the left by clicking Align Left. Now see what happens if you click Align Right. Ctrl-Z to Undo. Select different objects and play with the Align choices until you figure it out.
More information on formatting the Text Box and Shape Format in the Publisher Basics lesson.
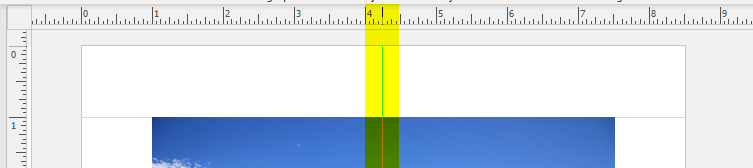
Now let’s resize your image. ALWAYS hold down the Shift key and use a corner handle when you resize. This will keep your image from stretching out of proportion. Hold down Shift, and using the top right handle, resize your image so it starts at the 4.25” mark on the ruler.
We can use our eyeballs to have each item line up on the 4.25” mark, halfway across the page, but let’s be more exact. First, resize your image so that it stretches back to the right margin. (Shift, drag the bottom right corner to the blue margin guide.)
Insert a New Guide
Publisher has guides that we can drag across vertically or horizontally to line everything up. Hover your mouse over the left-hand ruler. Your cursor turns into a special guide cursor. Drag the guide from the left ruler so it lines up with 4.25” on the top ruler. As you move the green guide, it will cover the inch markings. Be sure it exactly covers the 4.25”. You can adjust it by clicking and dragging again if you let go in the wrong spot.
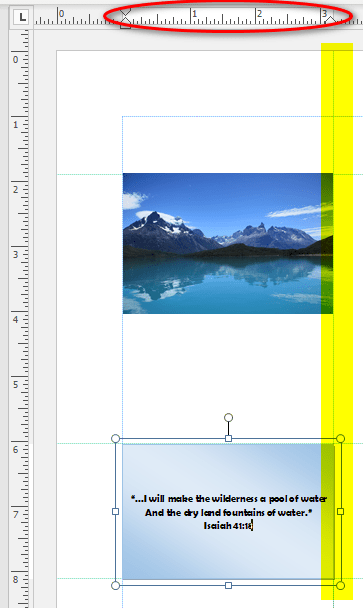
Now let’s check if we sized the picture and Text Box properly. Click on the image, holding down SHIFT, drag the top right handle across to 3” then back to the 4.25” guide. When you are close to the guide, the guide will get a little darker green. A red guide line will also appear if you line it up with the corner of the Text Box below. You want the green line.
Now do the same for the Text Box by holding down SHIFT and using the bottom right corner. Notice that the ruler numbers change as soon as you select the Text Box. It is showing you the margins within the Text Box rather than the whole page. Match them exactly with the guide which does not change.
and Text Box Ruler
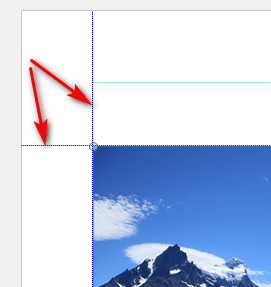
I like the larger image better. Drag its lower right handle back to the right blue margin guide. You can see the handle line up with the 7.5″ mark on the top ruler. Yes, it will cover up the Text Box a bit, but will adjust that later (red circle below). Our object handles do not “snap” to the margin, so it is a little more difficult to line up at 7.5″ exactly, isn’t it?
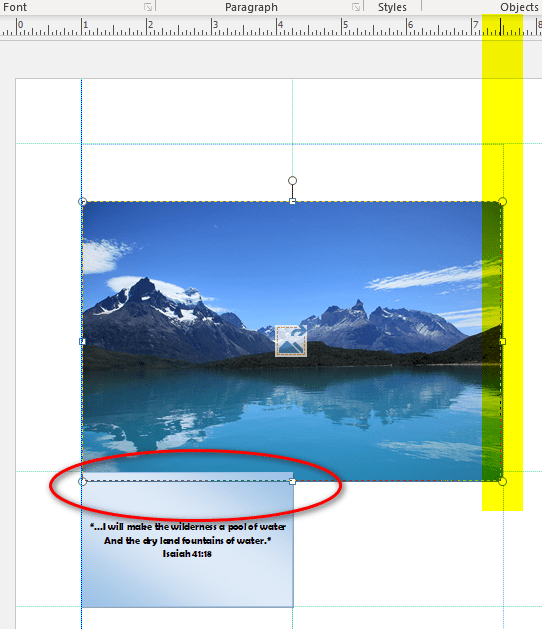
Overlap circled in red
Move a Guide
What if you need a guide in another position? You can manually set your guides. First, let’s move that top green guide so it is even with the blue 1” margin guide. To the right or left of your image, hover your mouse over the top green guide. Your cursor will turn into a “drag” cursor. Hold the mouse button and drag the guide until it is even with the 1” margin guide. As you are dragging, look at the ruler on the left of the page. When you exactly over the 1” mark, the little 1” line will be covered by your guide. Practice moving the guide from the 1” mark to the half-inch mark a few times until It is easy. Once it is on the 1” mark, drag your image up to your 1” guide.

Practice making a few more guides by dragging from the vertical ruler. Add two more guides at 2” and 6.5”.

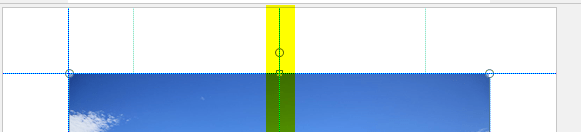
Move your image to the top 1″ guide. Move it from side to side so the center guide is in the center of the image. The center guide will get darker when they are lined up.
Practice Moving Your Objects to the Guides
For practice, move your Text Box from guide to guide. You can also align its middle handle with the middle guide. With the middle handle aligned with the middle of the page, drag each bottom handle to your new guides, left bottom to 2” and right bottom to 6.5”. The top should remain on the 6” horizontal guide.
Experiment with a bigger font to fit the Text Box – I still want each line to fit on one line, so I will press “Bigger Font” until one of the lines slips onto the next – then I will back down one – my font is now at 16 point size.
Deleting Objects
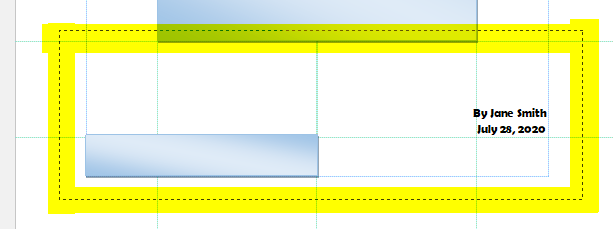
Let’s remove the two boxes on the bottom, your name text box and the rectangle. Drag your mouse in a big rectangle around both objects. Do not include your Text Box. This will select everything that fits entirely within the rectangle. You should see eight handles around your rectangle and eight handles around your Text Box, right? Now press “Delete” on your keyboard and both will disappear.
Remove a Guide
You now longer need that extra horizontal guide around the 9.5” mark. To remove a guide, hover your mouse over the guide until your cursor changes to the drag cursor. Now drag the 9.5” guide off your page. It will disappear. If you need it back, drag a guide from the top ruler down to 9.5”, and it is back.
The best way to learn is to play, so add more text boxes or images to your page. Add some horizontal guides and more vertical guides. Try another built-in guide setting from Page Design tab>Layout section>Guides. Move your image or Text Box from guide to guide or resize by dragging to a different guide. With a lovely image and a favorite quote, you can print your page and stick it on your refrigerator!
Don’t forget to save your Publisher document if you want to play with it again later.

1 Comment