Years ago, word processors were for text, photo-editing software was for graphics, but they did not combine well. What if you wanted to make a newsletter or a flyer with both text and graphics? In the 1980s, Aldus PageMaker was introduced, and the term Desktop Publishing was coined by its founder, according to Wikipedia. PageMaker is long-gone and desktop publishing has gone through many changes. What is Microsoft 365’s desktop publishing software: Publisher.
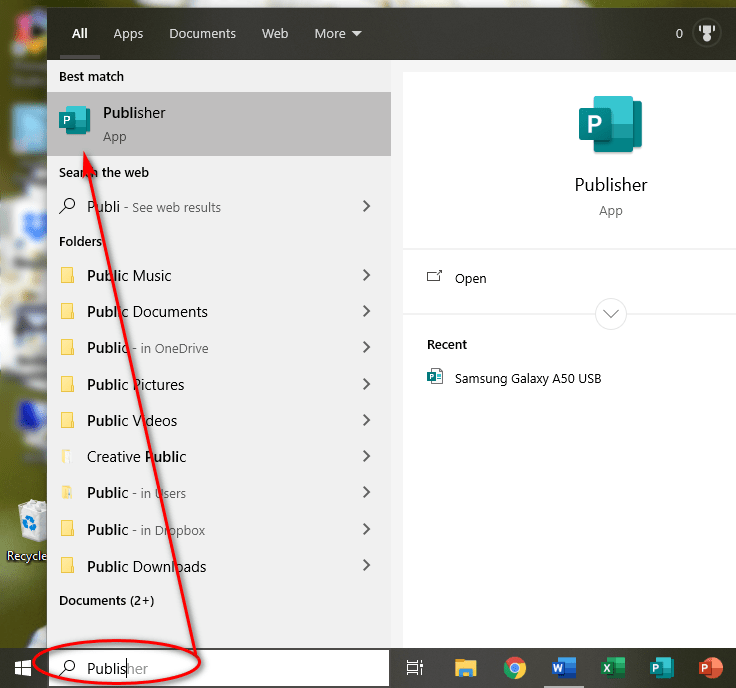
Publisher was not always included with MS Office, but the new Microsoft 365 plans include it, along with Word, Excel, and PowerPoint. To open Publisher, find the Windows Search bar or magnifying glass in your TaskBar, and type Publisher. Click on the Publisher icon when it appears.
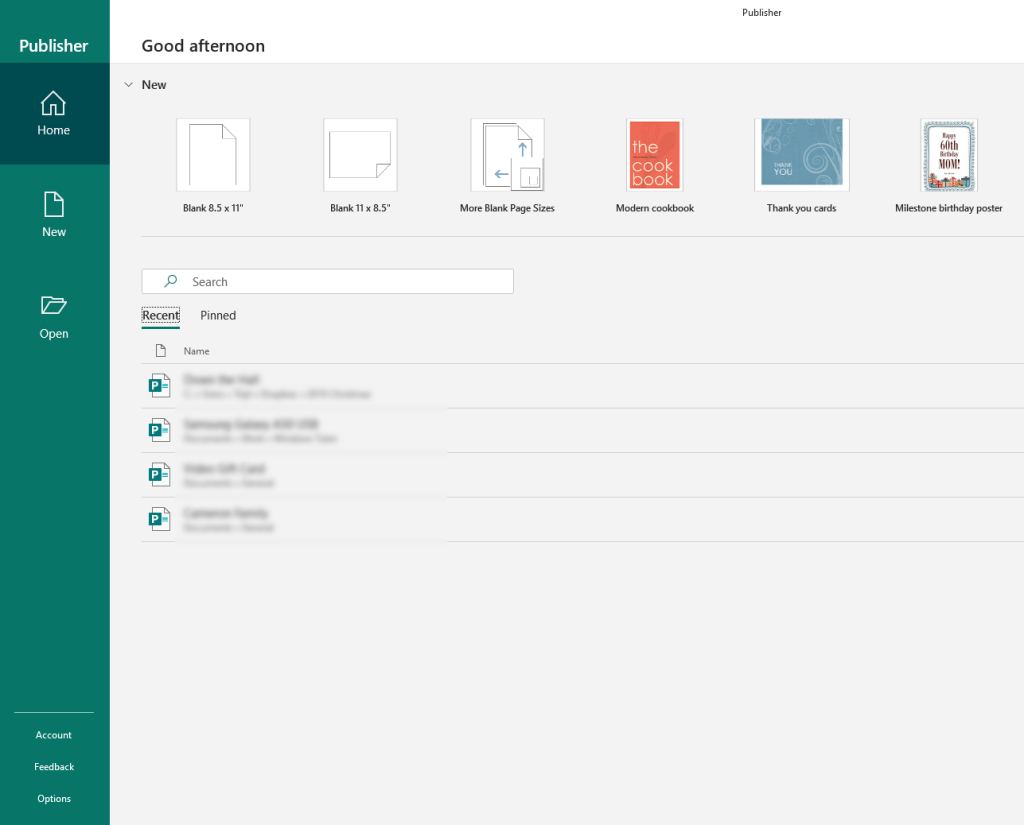
If you are familiar with other Office/MS 365 products, this should look very familiar. Click on “Blank 8.5 x 11” to begin with a blank page.
The Publisher screen looks like a combination between Word and PowerPoint. Our blank page is on the main screen with a ruler at the top. Default ½” margins show around the page in a faint blue line. Our page also shows at the top of the Navigation Pane or “Pages” section on the left. As we add pages and graphics or text, a thumbnail (tiny picture) of each page will appear in the Pages pane.
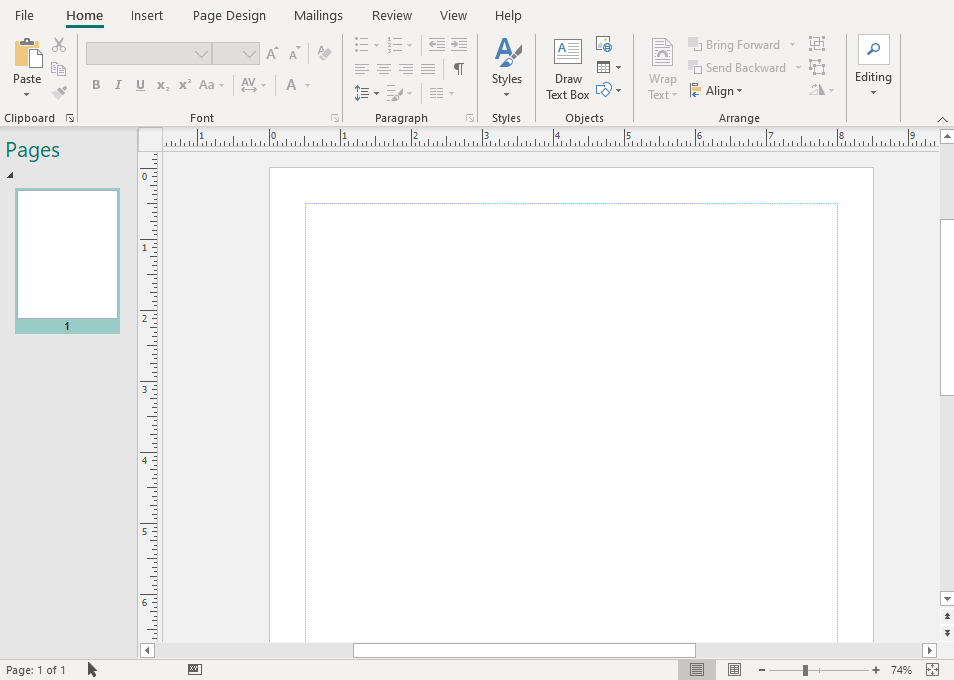
Let’s look at the Menus or “Ribbon” along the top. It should look very similar to MS Word’s ribbon: File, Home, Insert, then Page Design instead of Design and Layout. The choices on the Home tab are different and include “Draw Text Box.” That is because nothing automatically starts on the page. If you start typing, like you do in Word, nothing will happen. This is truly a blank page and we have to “Insert” a text box for typing or “Insert” a picture go add anything. The Home tab puts those shortcuts right on this page, as well as the Insert tab, just to give you a hint on how to being.
Insert Text – Start with a Text Box
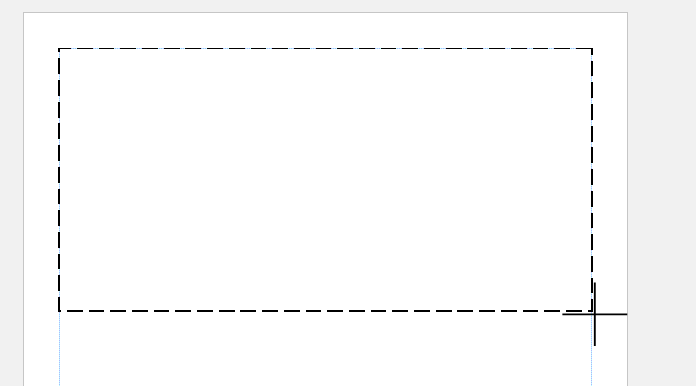
On the Home tab>Objects section>select Draw Text Box. (This is also available on the Insert tab>Text section>Draw Text Box.) Your cursor will change into a thin cross-shape. Click on the top left corner of the blue margin line, then drag down a few inches and to the right-hand margin line. This will “drag” your cursor into a box shape. Now let go.
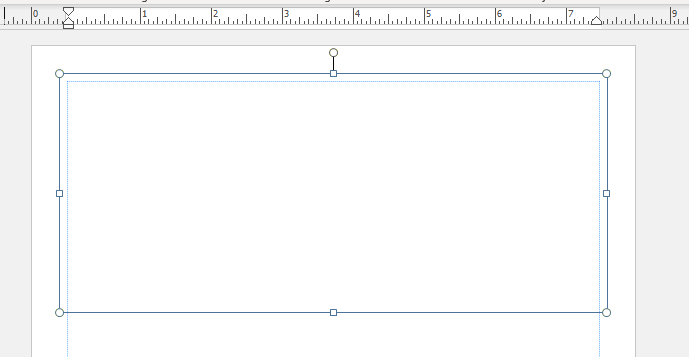
Now start typing. It should be very similar to any word processor you have used. Add about a line of text (or copy and paste the first two sentences of this paragraph). Click anywhere else on the page. The line around the textbox will disappear. Click back on your words, and the outline reappears. This outline is simply for your reference and will not print unless we change that, which we will do later.
Click on your Text Box. Notice that a special “Text Box” tab has appeared on the ribbon. This is a “context sensitive” tab – I like to call it a “magic tab” that only appears when we need it. Some of its choices are typical for a word processor and some are very different.
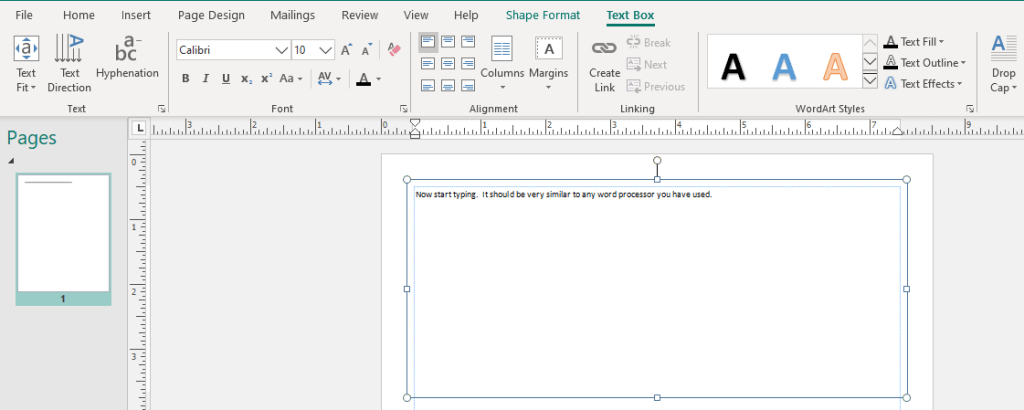
Also noticed that our page thumbail is beginning showing the first line of text… very small letters!
Do you see those little round “handles” around your text box? One on each corner and one on each side. (Ignore the top dot for now.) Drag the left-hand side handle into the middle of the page, then let go. You can watch it get close to the 4.25” mark on the top ruler as you move along. The text will move to the next line or “wrap” as you decrease the space in the text box. This text wrap should also show up in the Pages thumbnail, right?
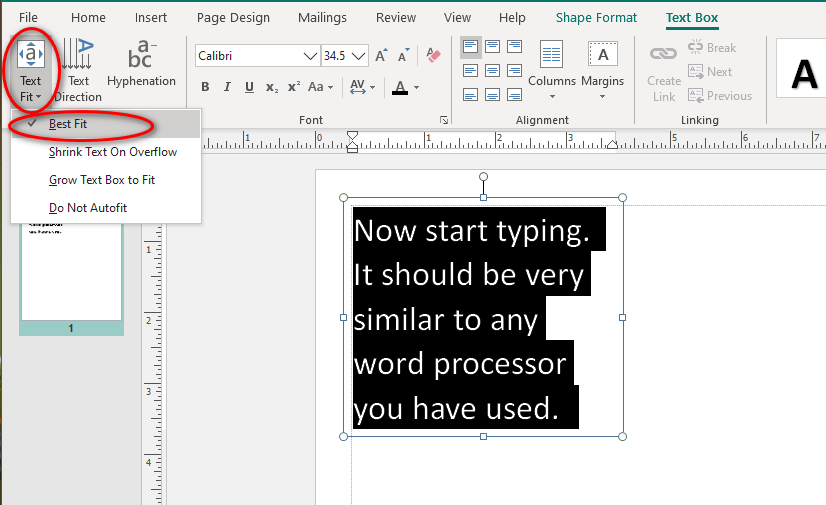
Every time you want to change something in any Microsoft 365 program, select it first. Drag through your text (or triple-click to select one line, or Ctrl A to select “All.” Now, experiment with those Text Box menus. First, click Text Box>Text section>Text Fit>Best Fit. Our text will fill up our available space within the box. Ctrl-Z to “Undo” and go back to the original.
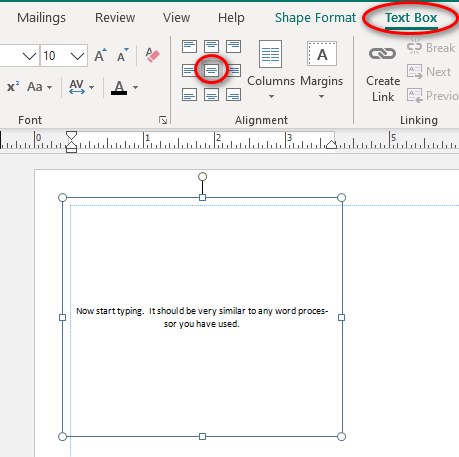
Align the text so it is centered within the box both vertically and horizontally. Be sure it is still selected, then in the Home tab>Alignment section> click the Align Center icon in the middle. Remember you can hover your mouse over icons to see what they mean. You can also just click, then Ctrl-Z or Undo to see what it does, then undo the command.
Use the Text Box>Font section> to make your font bigger and turn it red. Remember, select your text first by dragging through, triple-click, or Ctrl-A for “All.”
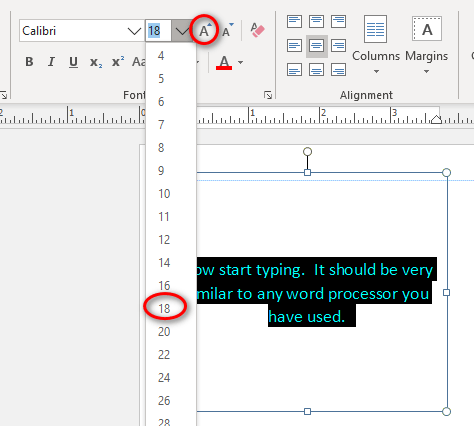
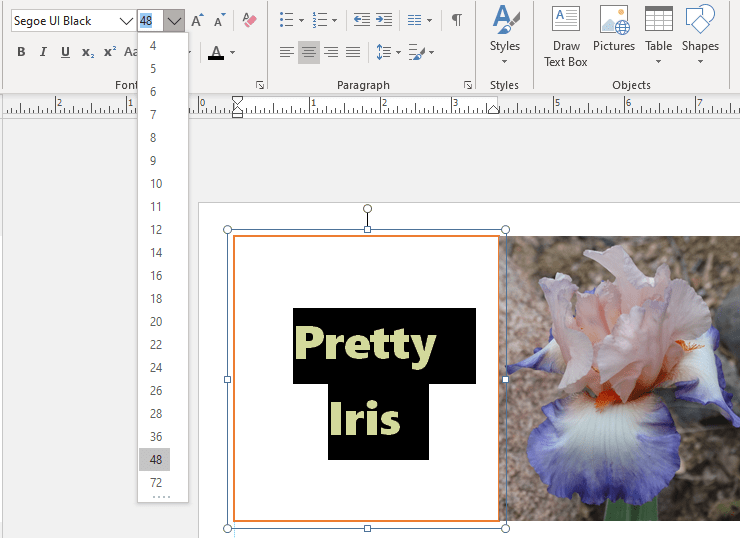
Change the text size, either use the drop-down arrow next to the font type (Calibri) and change the number to a larger number like 18, or click the “Increase Font Size” letter “A” right next to the number. The larger “A” makes the font bigger, one step at a time, and the smaller “A” makes the font smaller, one step at a time.
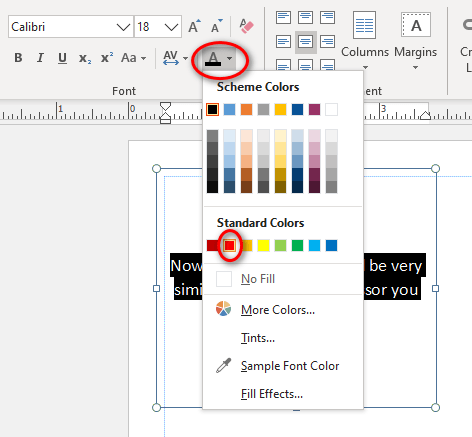
With the text still selected, click the drop-down arrow next to the letter A in the bottom right of the font section – the one with a bar of color below it. Select red to change our text red.
Once again, take a look at your Pages/Navigation Pane, and you should see the red text in the thumbnail.
Do you want a dark red outline around your text box? With your text box selected, there is another “Magic Tab” on the ribbon. Just to the left of the “Text Box” menu tab, there is a “Shape Format” menu tab. Click on it. If these tabs have disappeared, click back inside your Text Box so they can reappear magically.
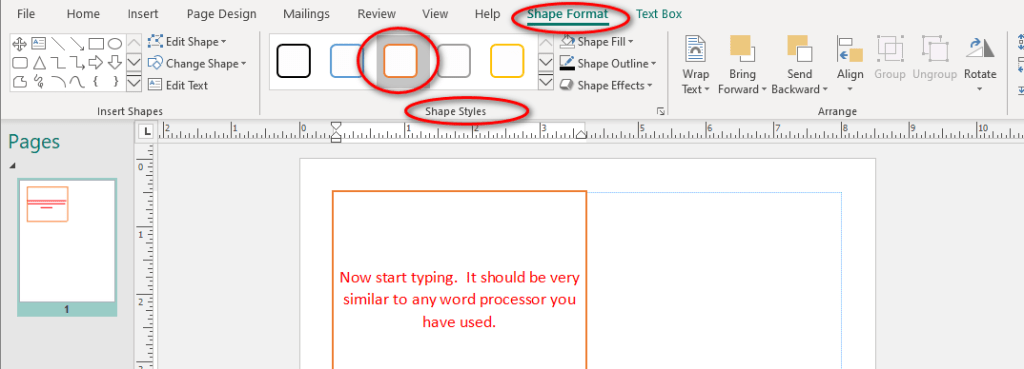
In the Shape Format>Shape Styles section>select the red box with the white center. This adds a red outline and white “fill” to your box. You do not see the white fill on white paper, but it would cover something else, as we will see later.
Insert Picture
Let’s add an image to our page. From the Home tab>Objects section>click on Pictures. The Insert Pictures window will appear.

You can use Bing Image Search to look for an image online or add our own picture. Using photos from the internet can always bring up copyright infringement problems. I recommend using your own images. Click the word “Browse” next to “From a File” and find a nice photo on your computer. I am going to insert of my iris photos.
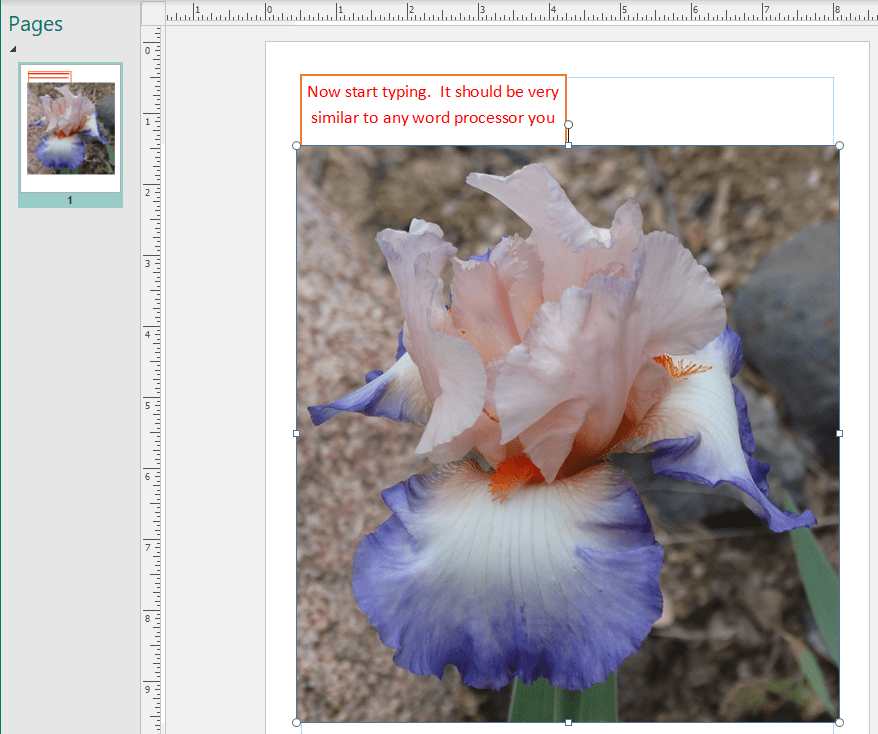
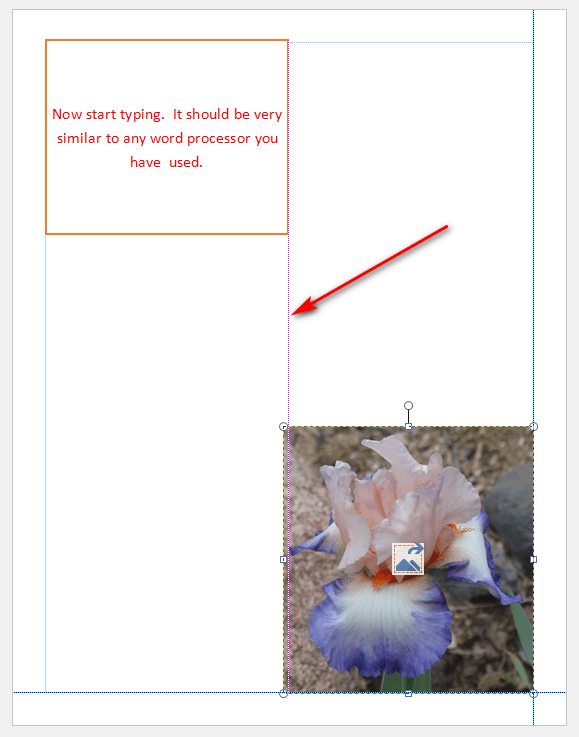
I want you to notice a few things. Your photo shows up on the thumbnail in the Pages pane. Publisher puts your image over part of my text box, and the words moved to the left. The words are “wrapping” around my image.
Click on your image so it is selected – the eight little round handles should show. Drag your image to its bottom right corner lines up with the bottom right margin lines of your page. Watch how your words will move as the re-wrap around the image.
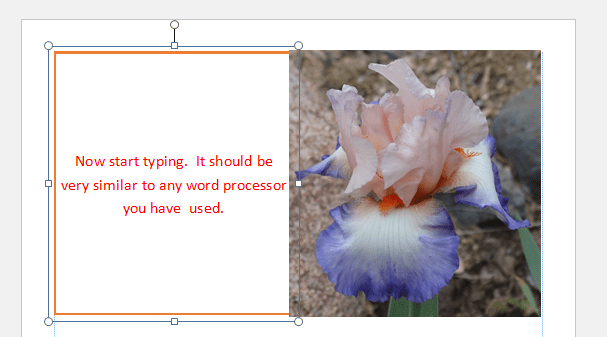
Now let’s resize your image. ALWAYS hold down the Shift key and use a corner handle when you resize. This will keep your image from stretching out of proportion. Hold down Shift, and using the top right handle, resize your image so it lines up around the 5″ mark on the ruler. Now holding down Shift again, move the top right handle closer to the 4.25″ mark. When it lines up with the Text Box right-hand edge, a thin red guideline will appear to tell you they are aligned.
Now, drag you image up to the Text Box so there are side-by-side. Click on your text-box so the handles appear. Drag its bottom right handle so it touches the bottom left corner of your image. In later lessons, we will learn how to create “Guides” to remove the guesswork in setting up your layout. We will also learn to “Align” objects.
Let’s change the wording in your Text Box so it matches the photo. Drag through your text to select it. (You can also click on a word, then triple-click to select any paragraph. You can also click on a word, and press Ctrl-A to Select All within your Text Box.) Once your text is selected, anything you type will replace it.
On your own, you can play with the Text Box tab to change your font, font size, and font color to match your photo. Remember to select your new typing first.
your photo. Remember to select your new typing first.
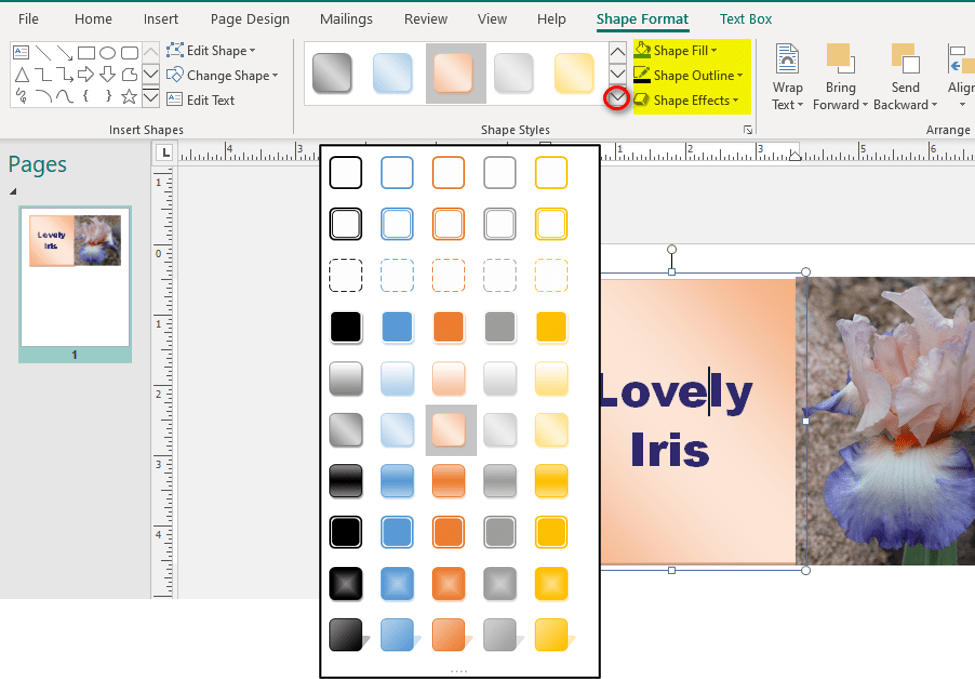
To change the Text Box style, click anywhere in the box to select it. Now go back to the “magic” Shape Format tab that appears. Select the drop-down arrow next to the Shape Format>Shape Styles section choices – circled red below. Pick a style that matches your photo. You can also adjust the Fill, Outline, and Effects manually in the Shape Format>Shape Styles section – highlighted in yellow below. Experiment! Remember, Ctrl-Z = “undo” if you goof.
Now, it’s your turn to play. Resize and move your Text Box and your Image until your page is just the way you want it. Put the photo across the top, put the text across the bottom or vice versa. Remember, when resizing and image, hold down Shift and grab a corner handle to keep it in proportion. See what happens if you grab a side, top or bottom handle – Ctrl-Z to undo anytime you stretch your image by mistake.
So many choices… welcome to the world of Desktop Publishing.

3 Comments