For this lesson, open a one-page Publisher document with three items: an image, a Text Box with some words, and a yellow star.
Set Up Your Sample Page with Three Layers
To insert these items, go to the Insert tab. For more detailed instructions for the image or Text Box, see Publisher Basics.
- Insert tab>Illustrations section>Pictures or Online Pictures (circled blue)
- Insert tab>Text section>Draw Text Box (circled orange)
- Insert tab>Illustrations section>Shapes (circled yellow)

Insert tab>Text section>Draw Text Box
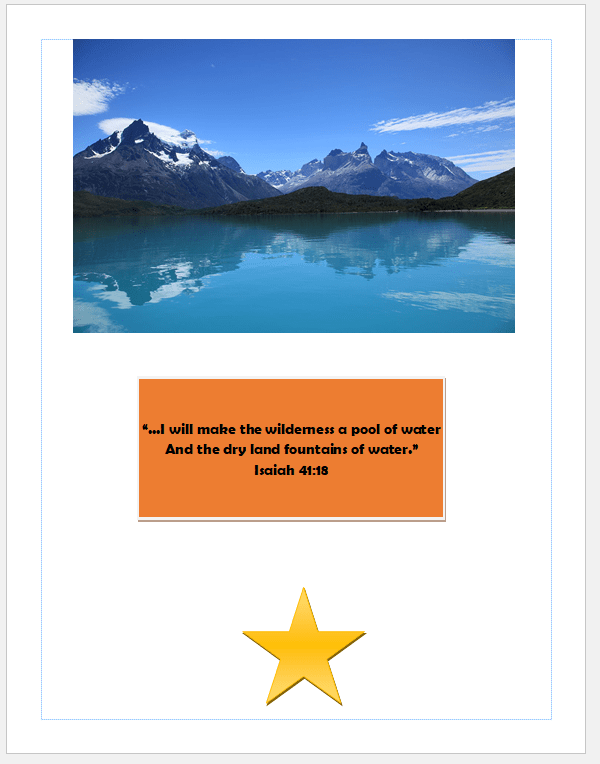
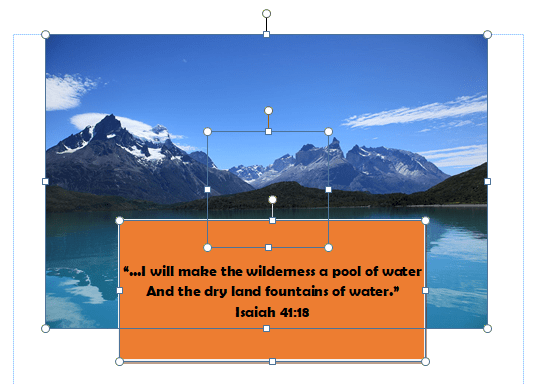
Your page should look approximately like mine with the large image on top. The mid-size text box in the middle, and the smaller star on the bottom. Format the shapes so they are easy to see.
Drag your Text Box so it is overlapping the image, but still visible from the bottom. Drag the star so it is overlapping the Text Box, but still visible from the bottom.
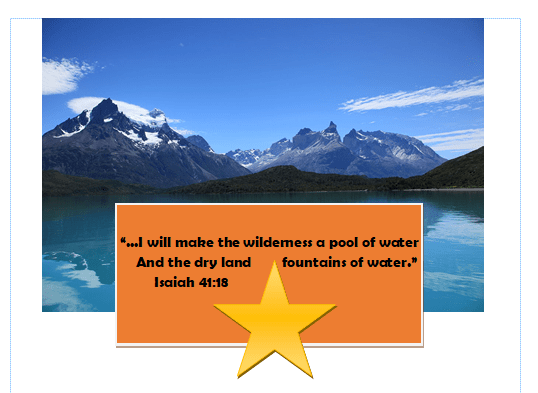
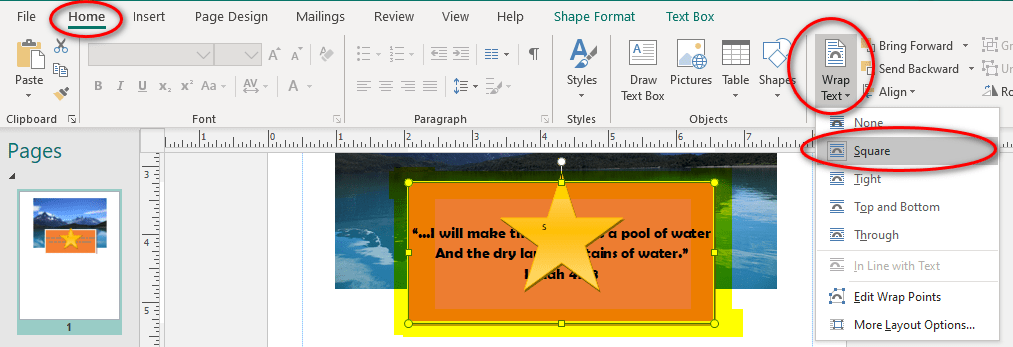
The first thing you will notice is that your words “wrapped” around the star. This can be a handy feature, but we want the words to ignore the other objects today. We will turn off text-wrapping for now on all three of our objects.
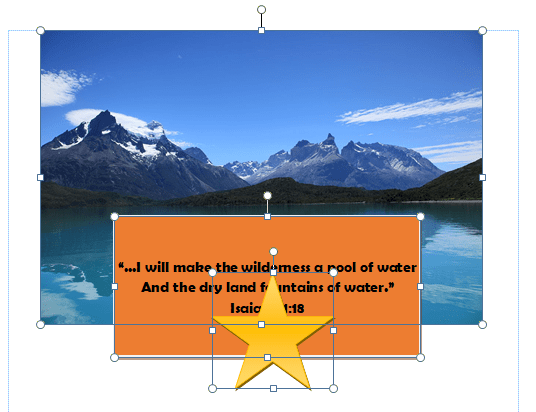
Select All Three Objects
Drag your mouse in a large rectangle around all three shapes. Each object should show eight round handles. You may also hold down Ctrl key while you click each of the three objects. Home tab>Editing section>Select All (or Ctrl-A) will also work since these three objects are the only items on our page. Are all three selected?
Change “Wrap Text”
When you select the objects, the “context sensitive” or “magic” Shape Format tab appears. In Shape Format tab>Arrange section>select Wrap Text. This Wrap Text icon is also available at the top of the right-click menu if you would rather right-click your objects – just make sure all three are selected! When you click on the Wrap Text icon, the Wrap Text menu will appear. Select “None” so our text will ignore any and all other objects.

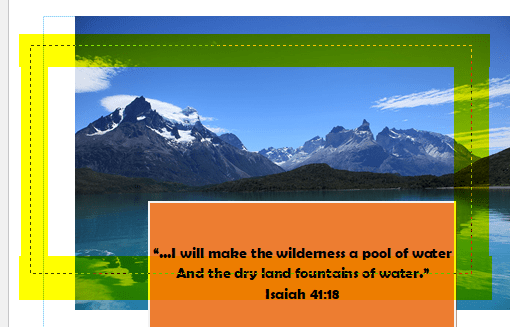
Now your words will ignore the star and stay in your Text Box just the way you formatted it. (Did you forget to format your text – centered, legible bold font, good size for the text box? Do that now.)
Why Select All? Why Not Just Select the Text Box?
When your text is not behaving properly, when it is wrapping around your objects, the logical next step would be to fix your text, right? Wrong! This is Microsoft 365 or Microsoft Office. Most of you use Microsoft Word. If you have a page of text and you add an image to your text, the image interferes with the text. You have to select the image, then change the layout options – how the image interferes with the text.
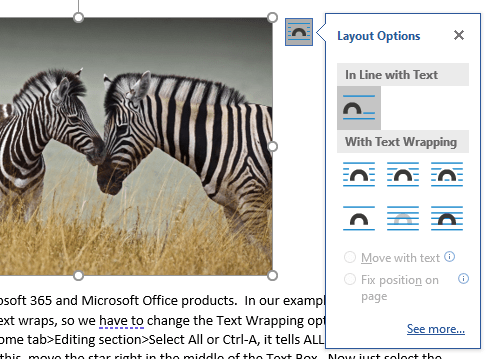
Insert Image>Layout Options
That is the same with all Microsoft 365 and Microsoft Office products. In our example, the star is interfering with the way the text wraps, so we have to change the Text Wrapping options for the star, NOT the Text Box. By using Home tab>Editing section>Select All or Ctrl-A, it tells ALL the objects to wrap text in the same way. To test this, move the star right in the middle of the Text Box. Now just select the Text Box and change the Wrap Text options to see what happens – nothing!
Not the results you want!
Now change the Wrap Text options with just the star selected. See? Be sure to change the star’s Text Wrap back to “None” before you continue – or Ctrl-Z to “Undo.”

It works!
Bring Forward
Right now our page has three objects and they are in three layers. Double-click your image, which is on the bottom layer. When you double-click, the “magic” Format tab appears. In the Format tab>Arrange section, there are two commands: Bring Forward and Send Backward. Both commands also have a drop-down arrow with more commands. Click Bring Forward once. Your image should now be between your Text Box and star. The Text Box is now on the bottom layer and the image is in the middle layer. The “Bring Forward” command brings you object forward one layer at a time. Use Ctrl-Z to “Undo” and send your image back to the bottom layer.

Now with your image selected, try the drop-down arrow next to Format tab>Arrange section>Bring Forward. A small Bring Forward menu will appear.
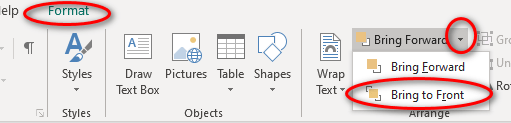
Now you can bring your image all the way to the top layer with “Bring to Front.” Try it.

Send Backward
I bet you can figure out what the Send Backward button and drop-down do from here.
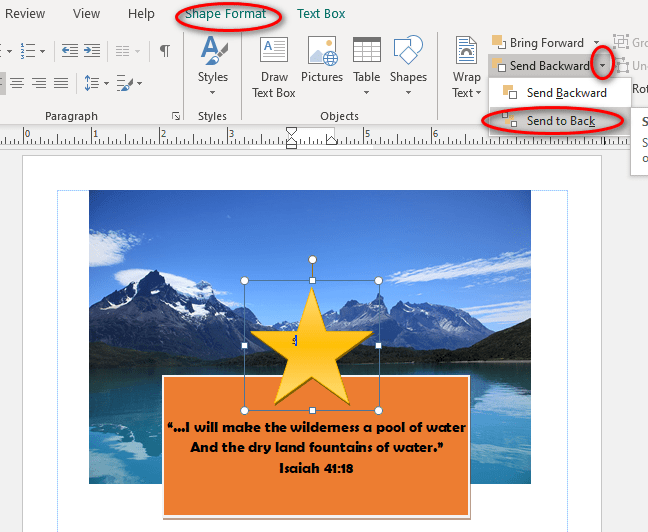
First, send your star all the way to the back. Shape Format tab>Arrange section>Send Backward drop-down>Send to Back. Your star should be just visible at the bottom.
Using the Format or Shape Format tab>Arrange section>Bring Forward or Send Backward button, make your objects just like they were when we started. Image on the bottom layer, Text Box in the middle and star on the top layer.
Covered or Hidden Objects
Move your star so it is completely surrounded by your image. Resize if necessary. With the star selected, use Shape Format tab>Arrange section>Send Backward drop-down>Send to Back.
The star is gone, but you can still see the handles. Remember about where they are.
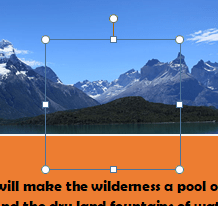
The star is hidden.
Click off the page to get rid of the handles. The star is covered by the image and you can no longer see it or your handles. How do you select it to move it? First you can always Home tab>Editing section>Select drop-down to Select All (or Ctrl-A for “All”). This will show you all the handles for all three objects.
The handles of all three objects are visible
You can hold the Ctrl key down and click your image to deselect it, then click your Text Box to deselect it. Only your star handles are visible.
You can also draw a rectangle around its approximate area with your mouse. Start just below and to the left of the top left corner of your image and drag around where you remember your star hiding. When you let go, your star is selected. (If you draw your box around more than one shape, both shapes will be selected.)
Now you can Format Shape tab>Arrange section>Bring Forward drop-down>Bring to Front to see your star again. Drag your star to the side of your Text Box, so it doesn’t cover your text. I moved mine so the right edge of the star lines up with the right edge of the image – when they are lined up a faint red line appears.
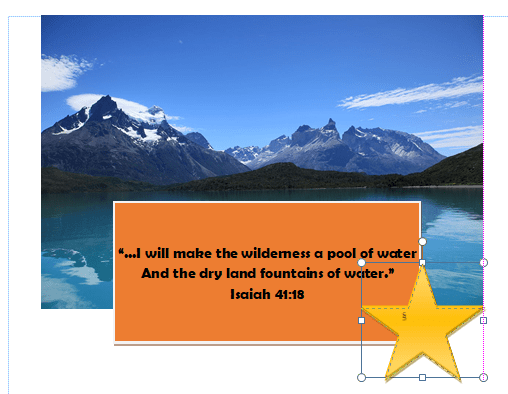
The star does not interfere with the text.
A red alignment line appears when
the right edges of the star and image line up.
Now practice your layers: Bring Forward, Send to Back, and finding objects that disappear.

1 Comment