Open a Publisher document you have been working on or create a new one. It should have one image and one Text Box on your page.
Add a Blank Page
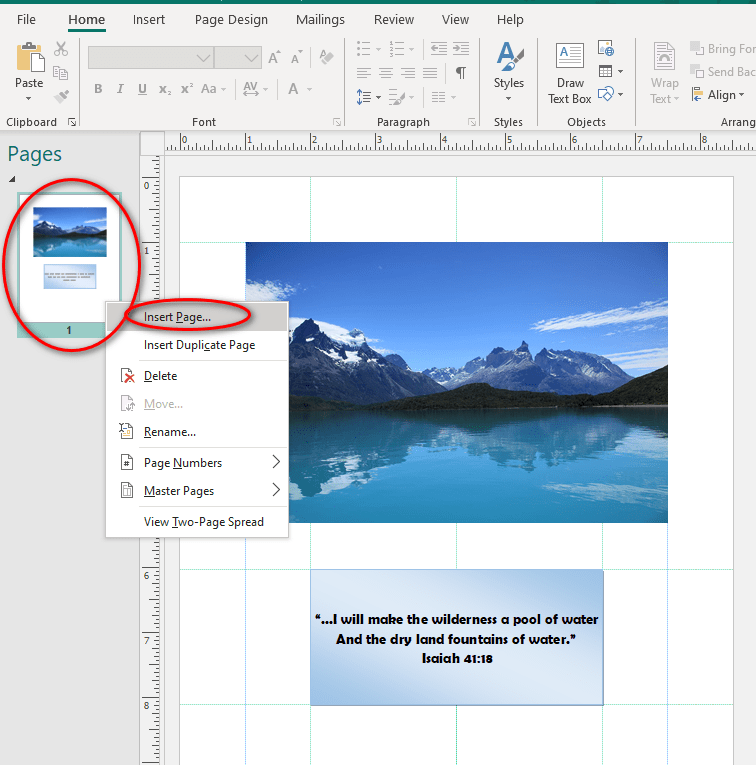
In the Pages pane on the left, right-click your first and only page. From the pop-up menu that appears, click on “Insert Page.” The Insert Page window will appear. The default is to add one page after the current page, and the page will be blank. Click OK.
Publisher will add a blank Page 2 to your document and take you to that page. Insert an image that takes up most of the page.
You can also add pages from the Insert tab>Pages section on the left. To add a new blank page, click the Page icon. This adds a blank page after your current page.
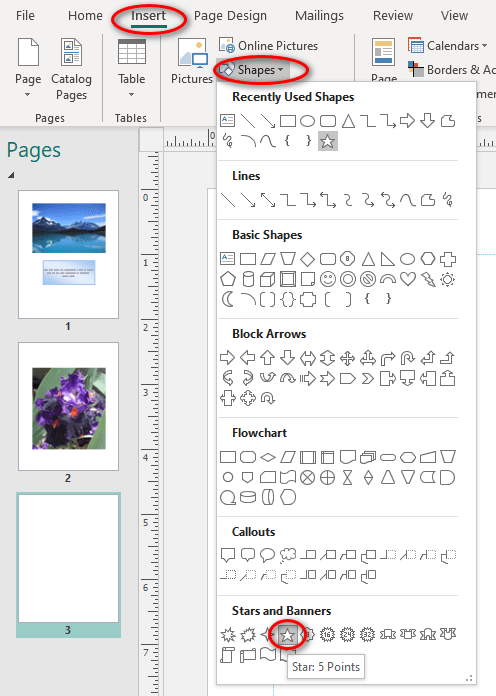
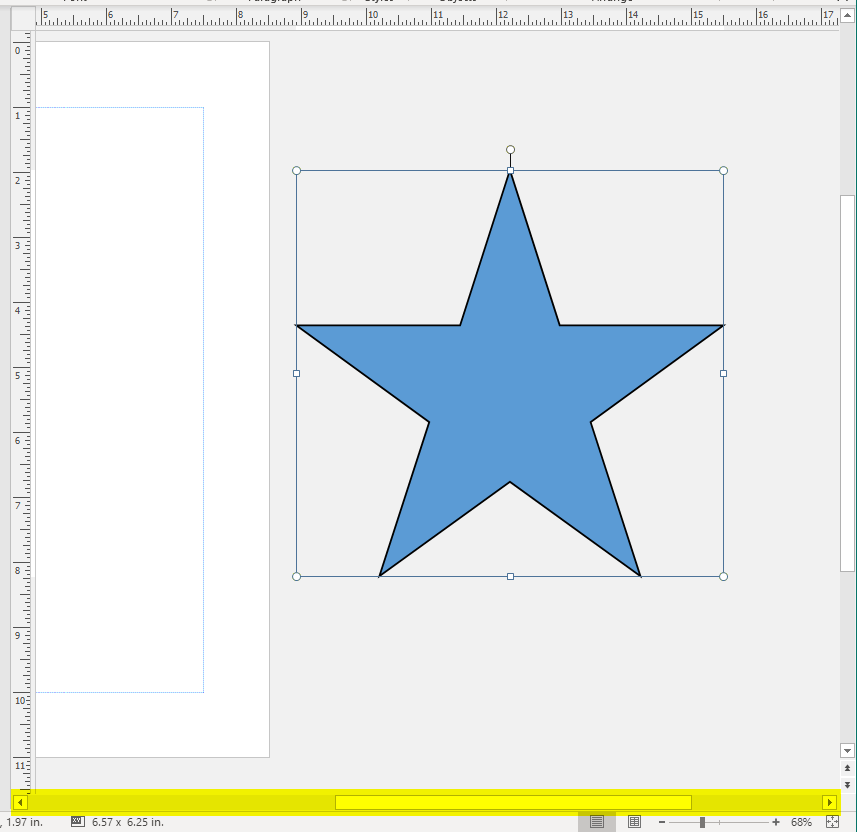
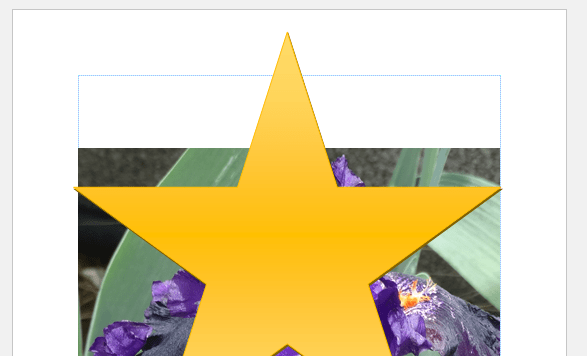
Add a big star to this page from the Insert tab>Illustrations section>Shapes. Cover most of your page with the star. (Tip: Hold down the Shift key while you drag your star across the page to make it stay proportional.)
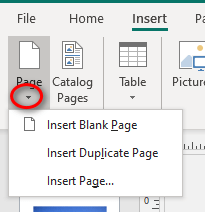
To have a bit more control, click the drop-down arrow below the insert tab>Pages section>Page icon. This time, let’s add a “Duplicate Page” with Insert tabs>Pages section>Pages drop-down arrow>Duplicate Page. The other choices are a Blank Page, Duplicate Page, or Insert Page… window. The ellipses “…” tells you that it will take you to a new window.)
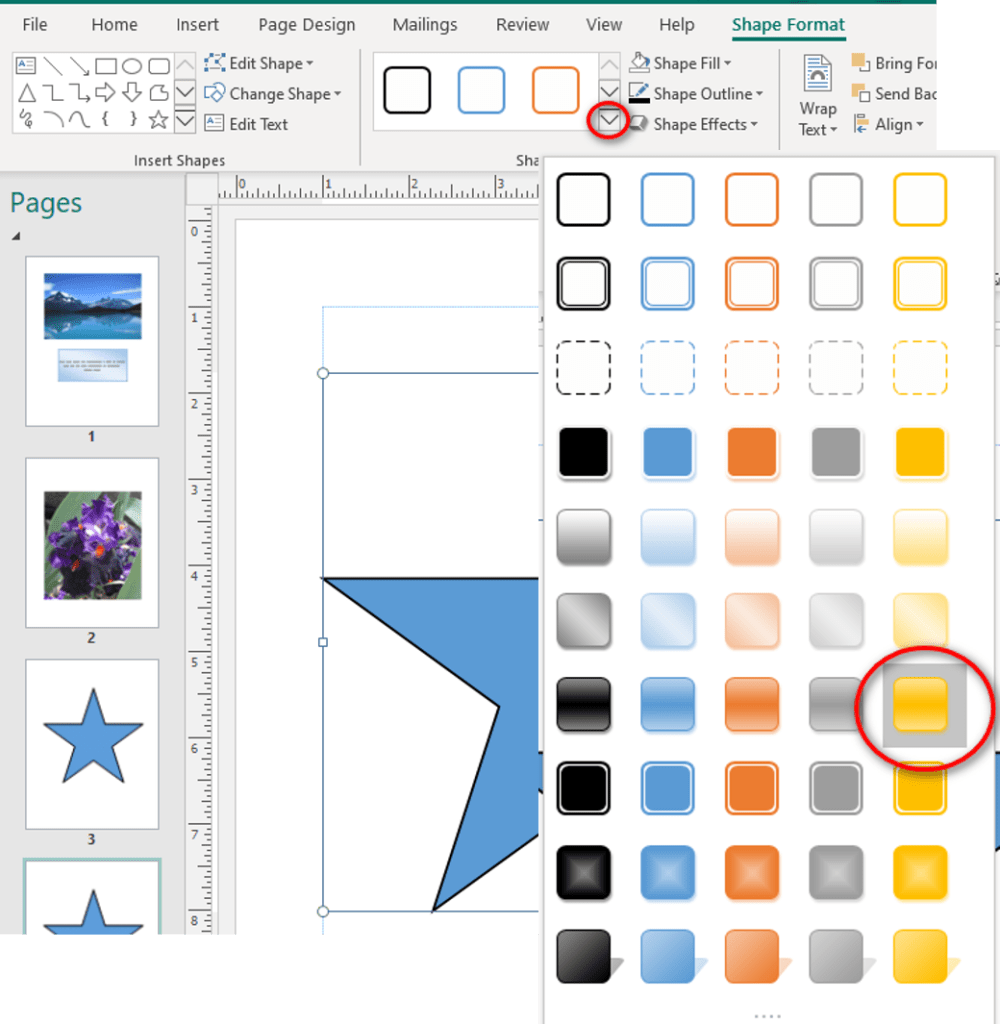
On page 4, click on your star to select it. The “magic” Shape Format tab will appear. Click on this tab. You can also double-click your shape to go right to the Shape Format tab. Change the color of your shape from the Shape Format>Shape Styles section. Click the arrow at the bottom right of the Styles choices for “More Choices.” Select a yellow style.
more choices window
You now have four pages with different objects on each page. Click on any page on the left-hand Pages pane to move to a different page. Click on the blue star on Page 3.
Pasteboard
Let’s say that you want to move that blue star next to the yellow star on Page 4. You could Cut and Paste, but I want you to use the Pasteboard, one of Publisher’s most powerful tools. The term “pasteboard” refers to the area around your workstation (table or computer window) where you can keep things to use later. It is an old newspaper term. If one article didn’t fit on the first page, the editor could cut it out, tape it to his “pasteboard” and use it on another page later. Publisher is just like that.
Click on the blue star to select it. You will see the eight round handles. Now drag the star off to the gray area to the right of the page. It has to be completely off the white page. It might even go off your screen a bit, but you can use your navigation bar at the bottom of the window to see it.
off the white printable page
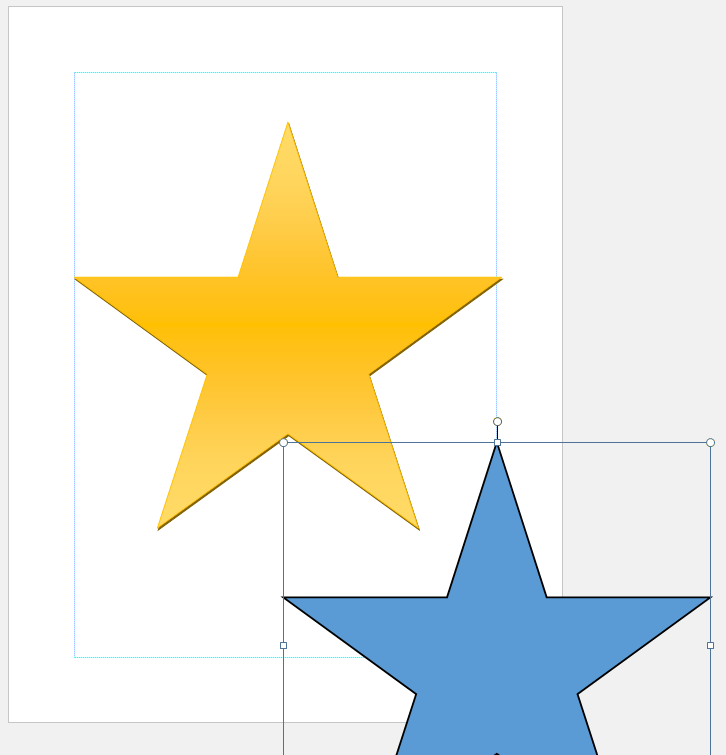
Now click on the yellow star on Page 4 of our Pages pane. Page 4 will be displayed with the blue star off to the side. Click on Page 1, 2, 3, or 4 and the blue star will still show up on the right, right? On Page 4, drag our blue star so part of it touches the white page, below and to right of the yellow star.
Now click on Page 1, 2, or 3. The blue star is no longer on the pasteboard because it is touching the white area of Page 4.
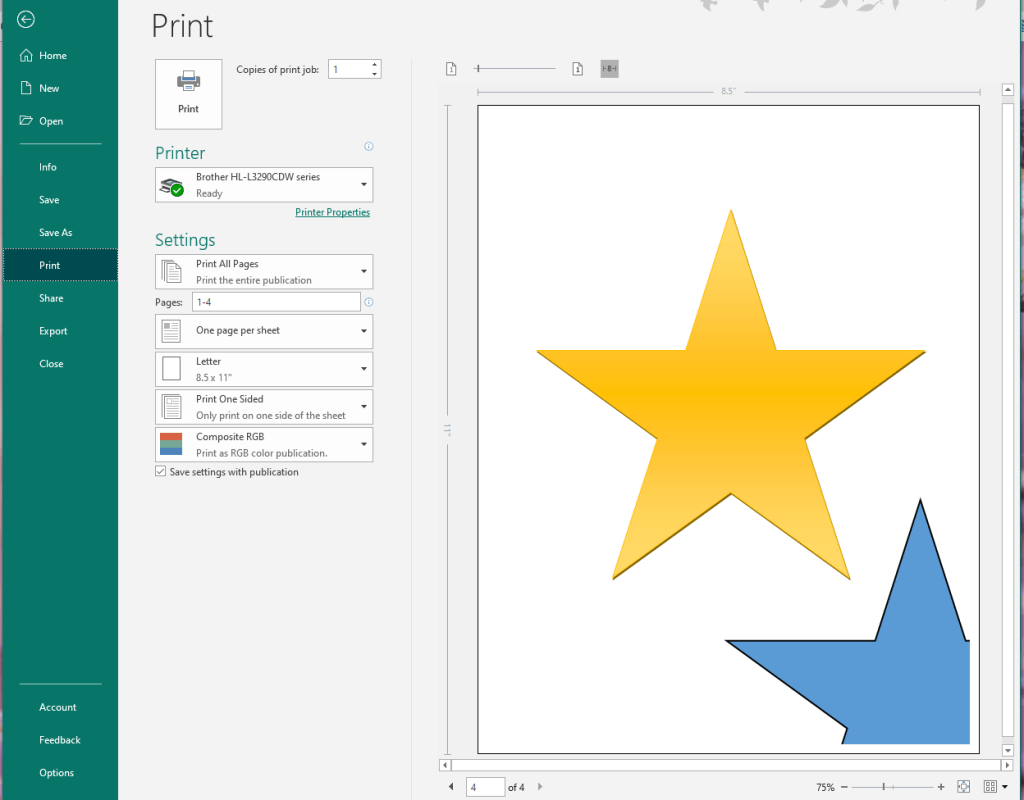
If you print Page 4, you will get the portion of the blue star that is on the white page. Go to File tab>Print to see a preview of Page 4. Depending on your printer’s settings, the blue star may not quite go to the edge of the paper.
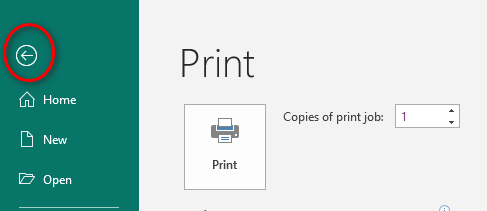
To exit the Print window, click the large arrow at the top left of the window.
You can use the pasteboard to save objects, including Text Boxes, Images, Shapes, for later use on a different page. You can also only partially place the object on your page for a fancy effect.
Practice by moving the yellow star to the pasteboard and moving it on and off your other pages.

1 Comment